Ya’ll-prepare yourselves for some not-so-attractive pictures of me…But let’s hope they improve by the end of the post!
I had a blog post request (secretly jumping for joy inside every time this happens) to help us ladies look a TAD better in pictures. She asked for some help in making those of us with round faces to look a little more streamlined in pictures! ..And you know what? I get it! I have had a chunky face my whole life-and trying to make it look a little smaller if definitely a priority for pics! BTW, let’s all hop board with the actually keeping/printing pictures! Because if we look terrible, more than likely that photo at the beach with the breathtaking views in the background isn’t gong to get framed. You know the one I am talking about. And if you could have just made a few changes, maybe you would have liked that photo a little better…. And maybe in 10 years, our kids won’t have to ask, “Mommy, why weren’t you in any of these pictures??” Because, maybe with a few little tweaks, we will WANT to be in these family photos!
Now we have all heard of contouring by now, right? If you are intimidated by the “contour” word, I understand. But you quit that RIGHT NOW. No more. Ok, sorry for the yelling but you needed it. Embrace the tough love.
Ok now that we are embracing it, Let’s talk makeup. Please yall, don’t be afraid of makeup. It’s a beautiful thing! I love that 100 different girls can take an eye shadow palette, and make 100 different looks and they can all be phenomenal-It seriously blows my mind some the talent some of these girls have. Do some reasearch and check some beauty gurus out! My fave is Chrisspy. Don’t know her? Ask me later, I am all about talking Chrisspy.
Another thing, please don’t immediately think makeup has to be drastic! It can be neautral, light and totally dreamy. So for all of my no makeup/super light makeup wearers-this post is for you. And for all of the medium/heavy makeup wearers, this post is for you. It’s so easy- and I want to walk you through it step by step! On your mark, get set……
1. Find some decent light…
Mine happens to be right in front of the washer and dryer- Glamorous right? But for makeup purposes, it works. Now you have to pick a contouring tool. This is what I used today.  This is the NYX wonder stick, and I love it! It blends SO EASILY and great for beginners! (Mine is well loved as you can tell)
SO before we start the contour, let’s get to the not-so-pretty picture. Ugh. Check out those chipmunk cheeks. I’ve always had a chunky face, and this is what it looks like with just foundation. From now on you will realize, foundation is NOT ENOUGH ya’ll. Ok let’s get this over with. 
Ok, now quickly look away and move to step 2.
2. Start the contour
This is what mine looks like!
 Make a semicircle around your forehead, and 2 lines down your cheeks and chin area. This is all about creating shadows people! From the first step you can tell I already am creating some depth to my face. We’re going short and sweet today ya’ll. See!? It’s easy!!
Now, notice where I stopped the contour line. Make a fun fishy/kissy face and wherever your cheeks start to sink in, STOP. See below.
3. Blend, Blend, BLEND
Grab a cheapie beauty blender or contour brush and BLEND YA’LL..Like blend ’til the cows come home. My friend sent me a pic of someone out shopping who OBVIOUSLY forgot to blend her contour out, and it was a straight. Up. TRAINWRECK. You couldn’t look away! Not sure if you have blended enough? Blend some more. We don’t want any harsh lines people! This is a natural contour and we want soft shadows, not harsh lines. *When in doubt, blend it out.*
4. *Optional* Powder contour
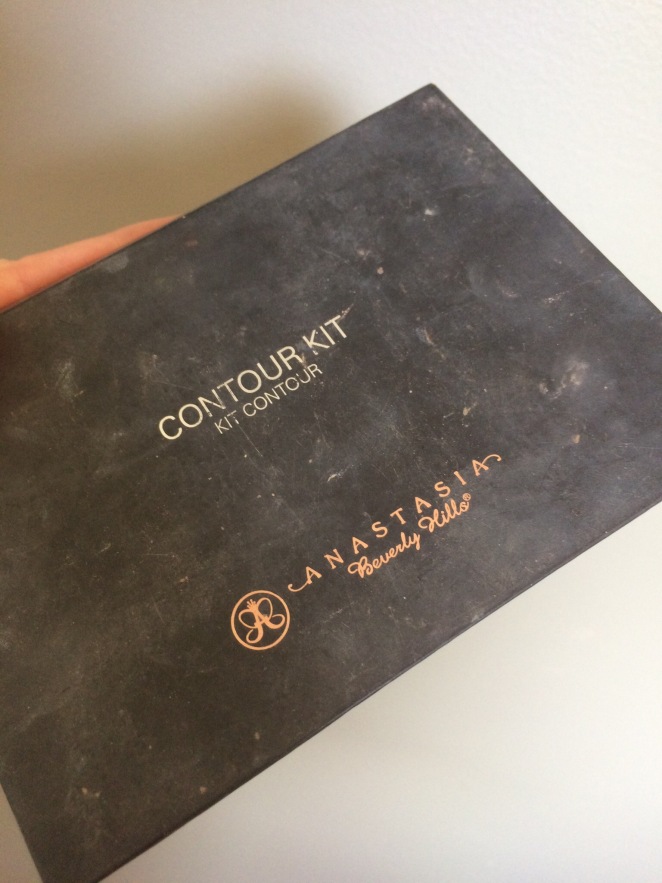
I always like to go over my cream contour with a powder contour! It sets the look and makes all the blending look so soft and pretty. Here is the one I use. 
 Again, well loved right? But I ADORE THIS STUFF. Even before I started using the cream contour, this is what I used exclusively!
Go right back over your cream contour with a light hand and you will see those shadows start to show! Here is where you are going to see those cheekbones POP!
6. Blush
Ok, for all of my people who say ” I don’ need blush- I blush naturally”. You better quit that. And I don’t want to hear it again. Here is the process. Cover up the redness. Apply more redness. Crazy, I know. But where we naturally blush isn’t the most flattering. So with a light hand ( and soft brush) start at the apples of your cheeks and lightly sweep it up towards your temples. Gently now, gently.
7. Lip color
Lips are so important for pretty pictures! I asked my nephew what he noticed most about my after pic and the first thing he said was that in the before, I didn’t have lipstick. ( I know, I asked my nephew-random-but I needed an unbiased opinion of someone who would tell me the truth about the pic!) Lips can make or break a pic ya’ll. Paint’em up!
This is my favorite palette from Urban Decay. I keep it in my purse, and then if I want 5 different lip colors per day, I can do it! Do yourself a favor-go buy one. I also LOVE to mix colors to create new, fun colors. I rarely am just wearing one lip color! *Shout out to my awesome sister-in-law for getting me this palette. It’s amazing!*
SO here are the before and after pics side-by-side. You see the difference?  Its a subtle definition of the cheekbones and some slight shadowing that made all the difference! My face looks skinnier and so much brighter. My sweet nephew also said “your face pops in the second picture.” Ummm…*Swoon* Ya’ll- he is sweet and available. Any takers?
Anyways, back to the makeup. This whole contouring jazz took under 5 minutes, and you can do it too! Try it out, let me know what you think, and report back! Check out the whole process below…..
If you liked this mini tutorial, please share!
Pin on Pinterest or share on Facebook!


